Staring at a tangle of coloured wires can be daunting. You want the convenience and security of a sensor light, but the fear of a nasty electric shock or causing a fire is very real. Getting it wrong can damage your new fixture or, worse, put your home and family at risk. That’s why understanding exactly how to connect sensor to light the safe way is non-negotiable. This guide is designed to cut through the confusion and give you the confidence to tackle this project correctly.
Our licensed electricians will walk you through the essential steps for a reliable installation. You will learn how to identify your wires, understand the critical safety warnings you must not ignore, and know the clear signs that it’s time to call a professional. Achieve peace of mind knowing your new sensor light is installed safely, improving your security and saving you money on your power bills. Let’s get it done right, the first time.
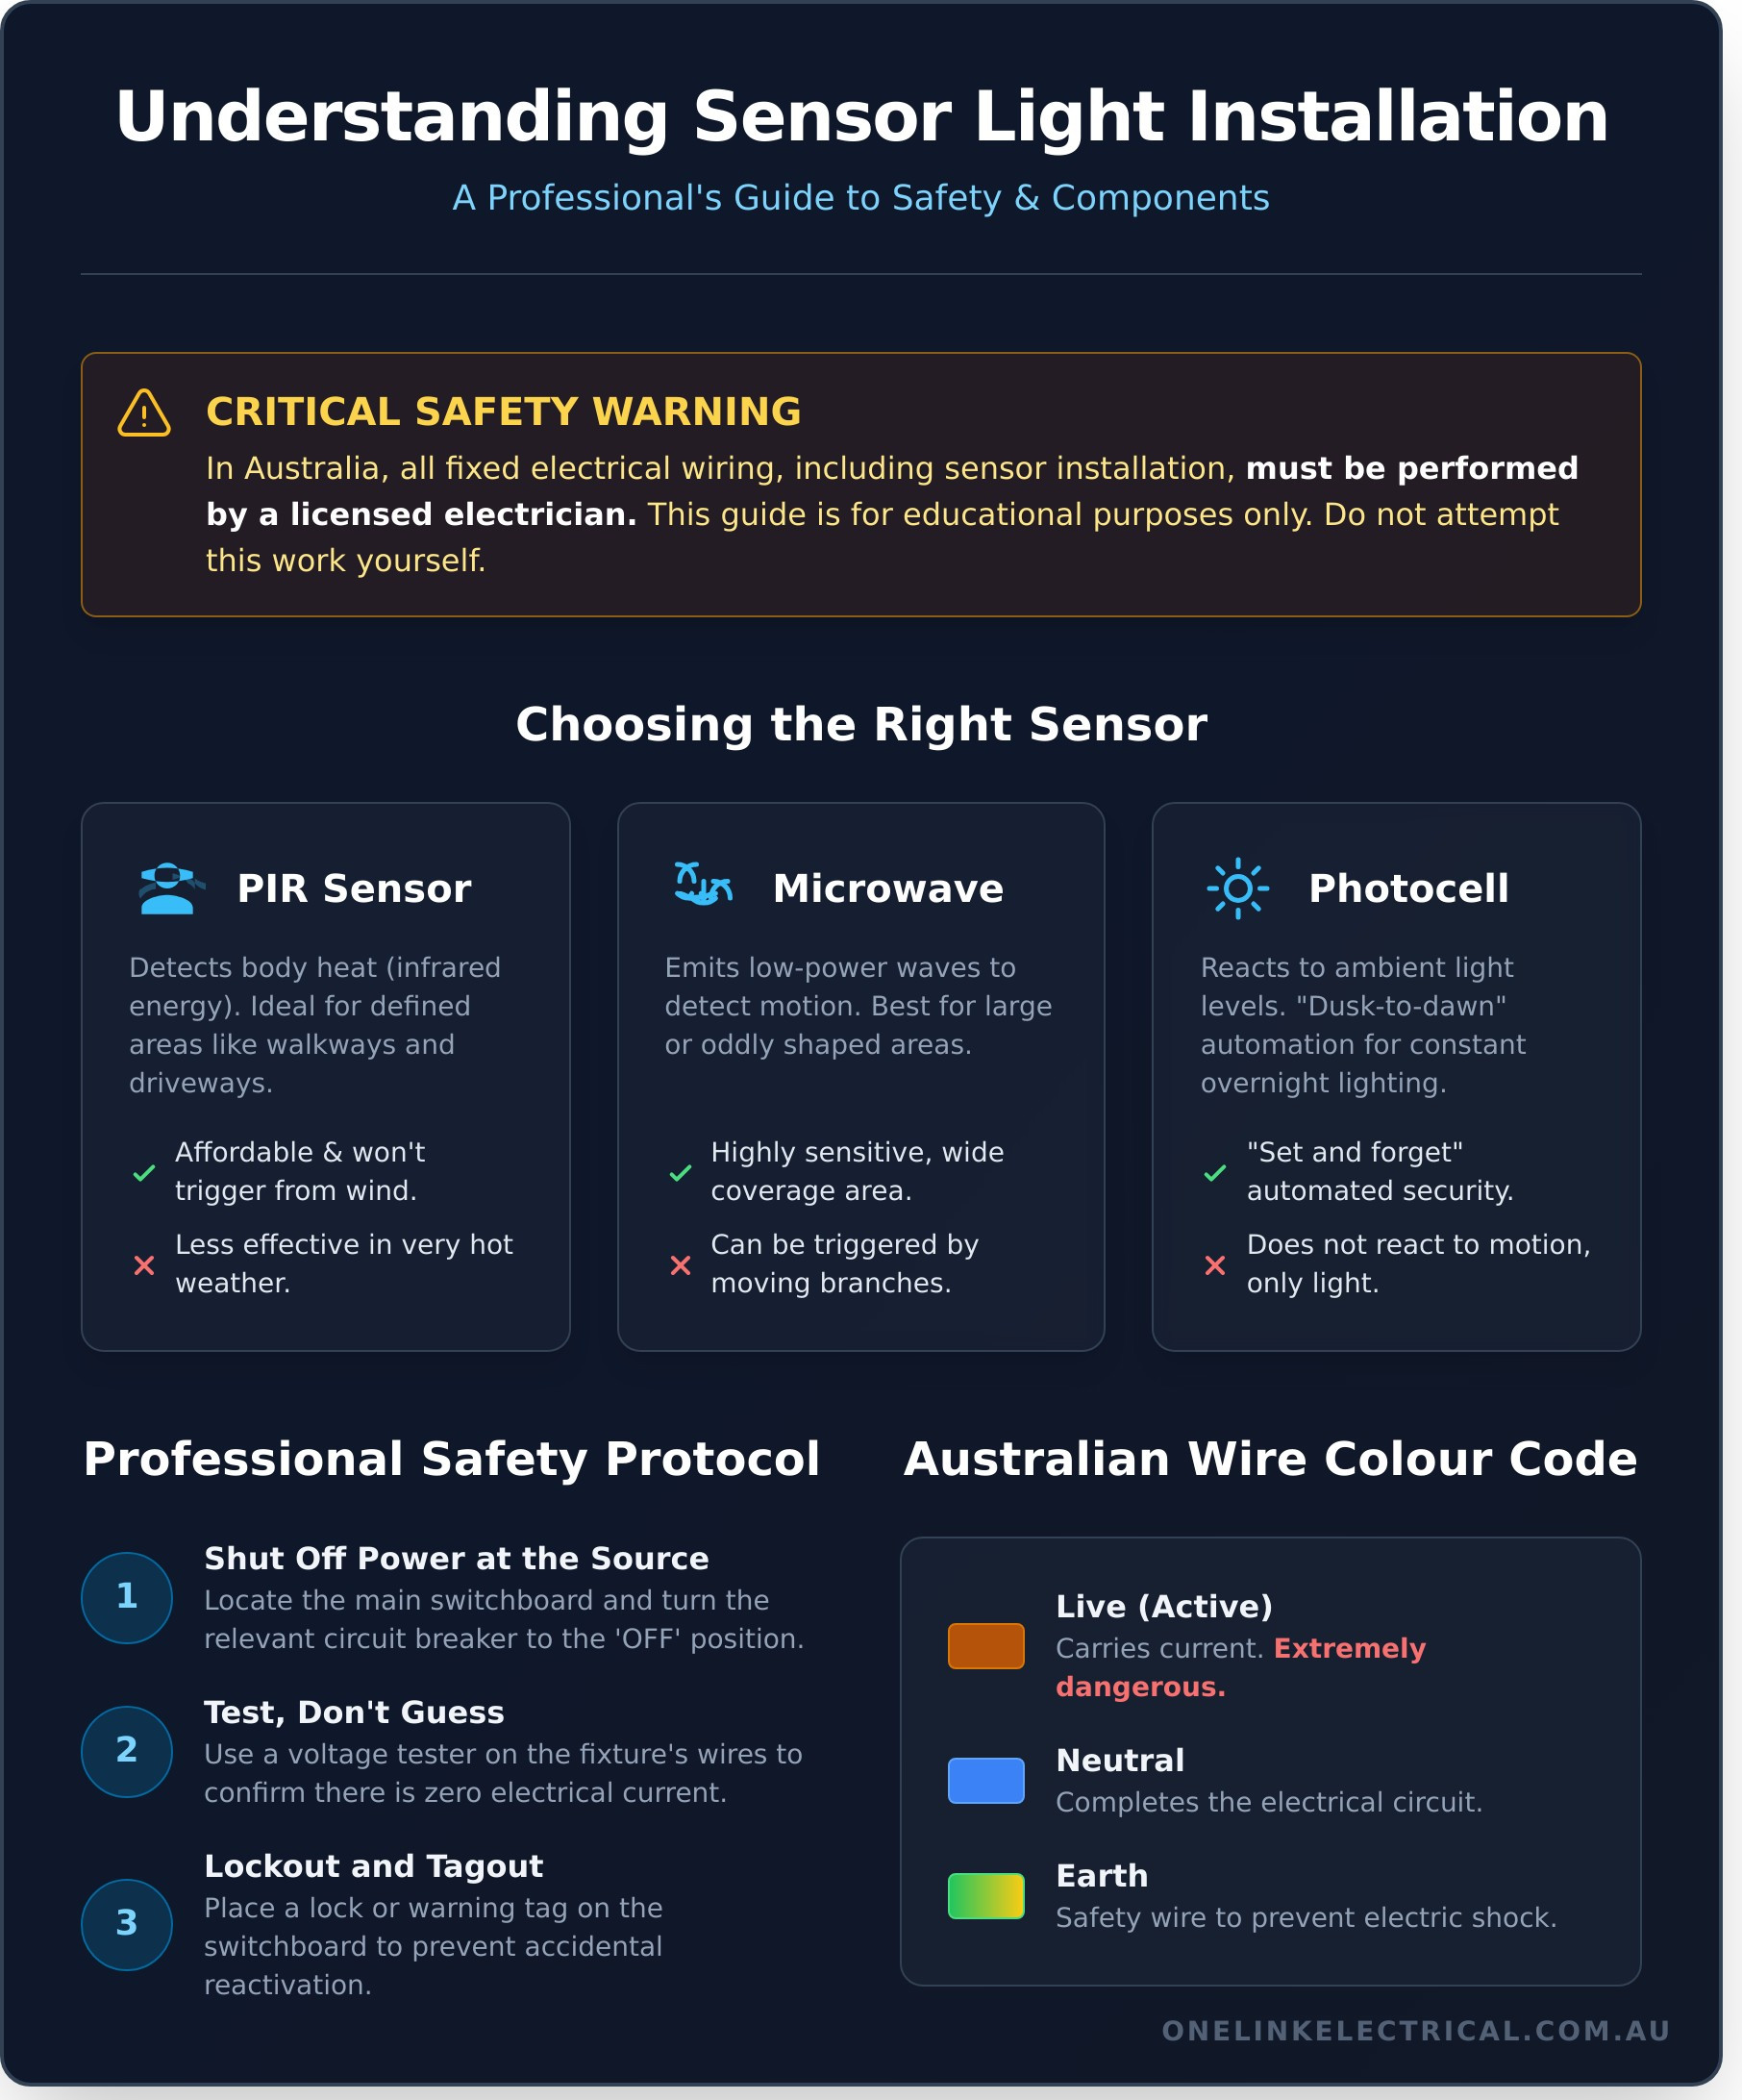
Understanding the Basics: Choosing the Right Sensor for Your Light
Connecting a sensor to your lights is a smart move. It boosts security, adds hands-free convenience, and delivers significant energy savings. But before you learn how to connect sensor to light, you must choose the right components for the job. The correct sensor ensures your lighting works reliably and safely, giving you peace of mind.
There are three main types of sensors for residential use. These devices, often called Occupancy sensors for lighting control, work in different ways to suit specific needs. It’s crucial to match the sensor not only to its purpose but also to the type of light you’re using and its location.
Passive Infrared (PIR) Sensors
PIR sensors are the most common type you’ll find. They work by detecting the infrared energy (body heat) emitted by people and animals. This makes them ideal for defined areas like walkways, driveways, and entryways where you want to detect approaching visitors.
- Pros: Affordable, widely available, and won’t be triggered by wind or blowing debris.
- Cons: Can be less effective in very hot weather and have a more limited detection range than other types.
Microwave Sensors
These sensors emit low-power microwaves and measure the reflections. When an object interrupts the wave pattern, the sensor activates the light. Their sensitivity makes them excellent for covering larger, oddly shaped areas like garages or backyards. They can even detect motion through thin walls or doors.
- Pros: Highly sensitive with a wider, more consistent coverage area than PIR sensors.
- Cons: Can sometimes be triggered by non-threatening moving objects, like swaying tree branches.
Photocell (Dusk-to-Dawn) Sensors
Unlike motion detectors, photocell sensors react to ambient light levels. They automatically turn lights on when it gets dark and switch them off at sunrise. This makes them the perfect “set and forget” solution for porch lights, landscape lighting, and any area you want illuminated all night.
- Pros: Fully automated lighting cycle provides consistent security and saves energy.
- Cons: Does not react to motion, only to the level of natural light.
Finally, always check for compatibility. Modern LED lights require sensors specifically designed to handle their low power load to avoid flickering or failure. Also, consider the location. An outdoor installation requires a sensor with a suitable weather-resistance (IP) rating to protect it from rain and dust. Getting these details right makes the process of how to connect sensor to light much smoother and more effective.
Safety First: Essential Tools and Precautions Before You Start
IMPORTANT: Before you even think about touching a wire, you must understand the law. In Australia, it is illegal and extremely dangerous for anyone other than a licensed electrician to perform fixed electrical wiring work. This includes tasks like installing a new light fixture or sensor.
This guide is for educational purposes only, designed to help you understand the process a professional follows. Never attempt this work yourself. If you need to connect a sensor to a light, your first and only step should be to call a qualified electrician. Your safety is not worth the risk.
Tools Required for the Job
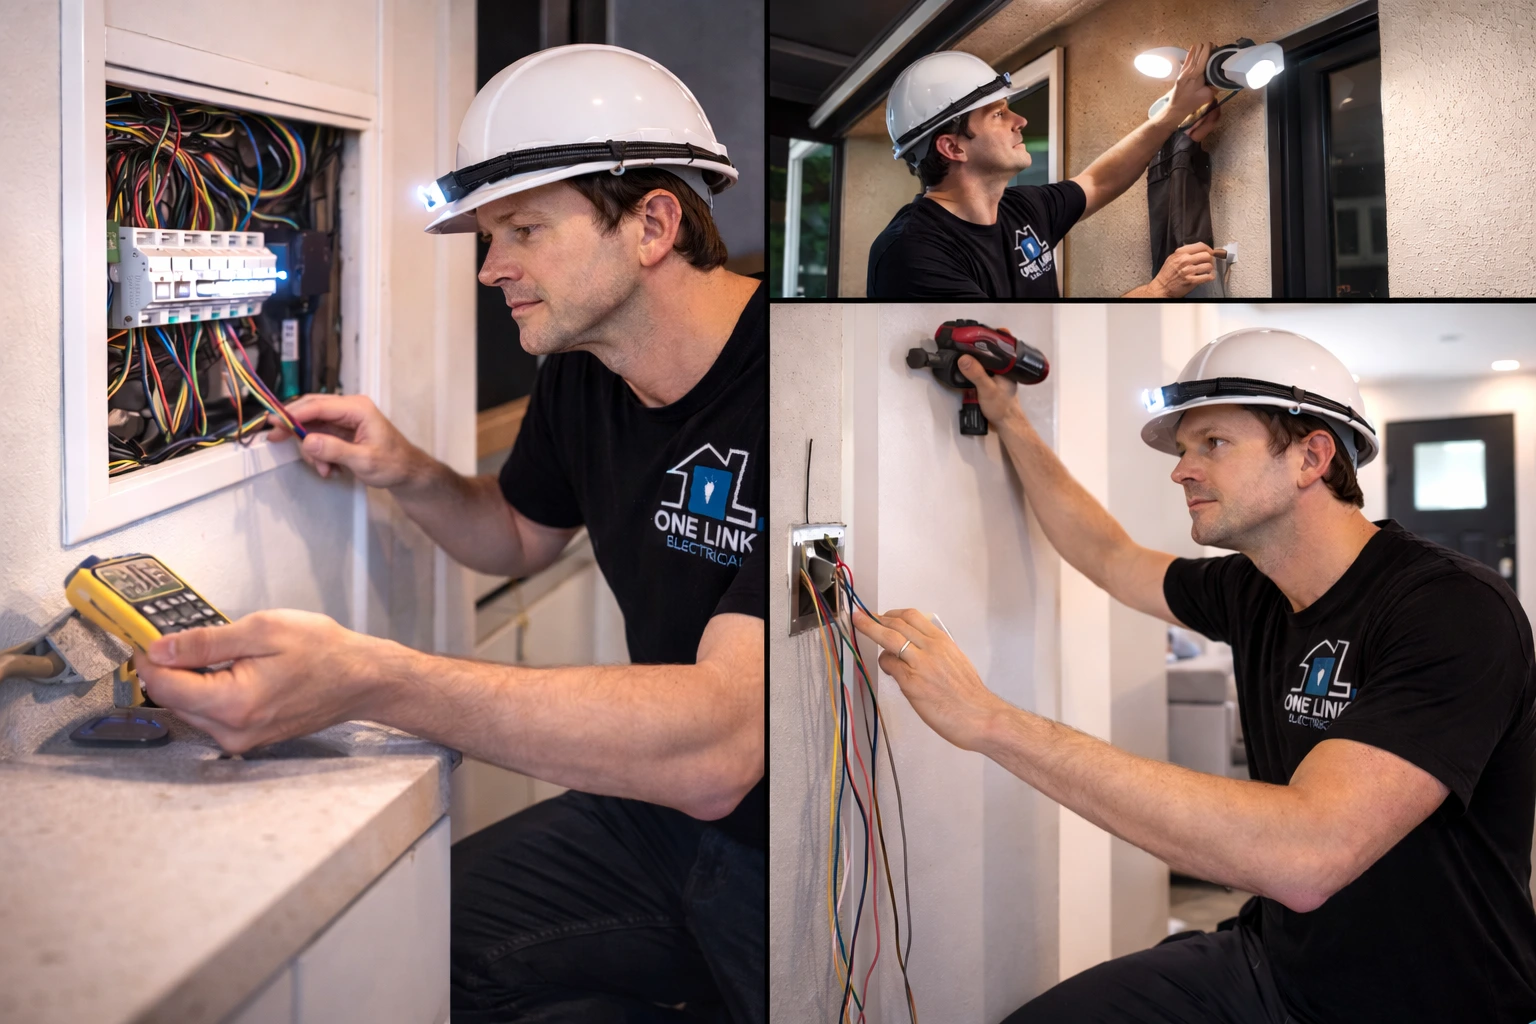
A professional electrician arrives with a specific set of tools to ensure the job is done safely and correctly. Understanding what’s required highlights the complexity of even a seemingly simple task.
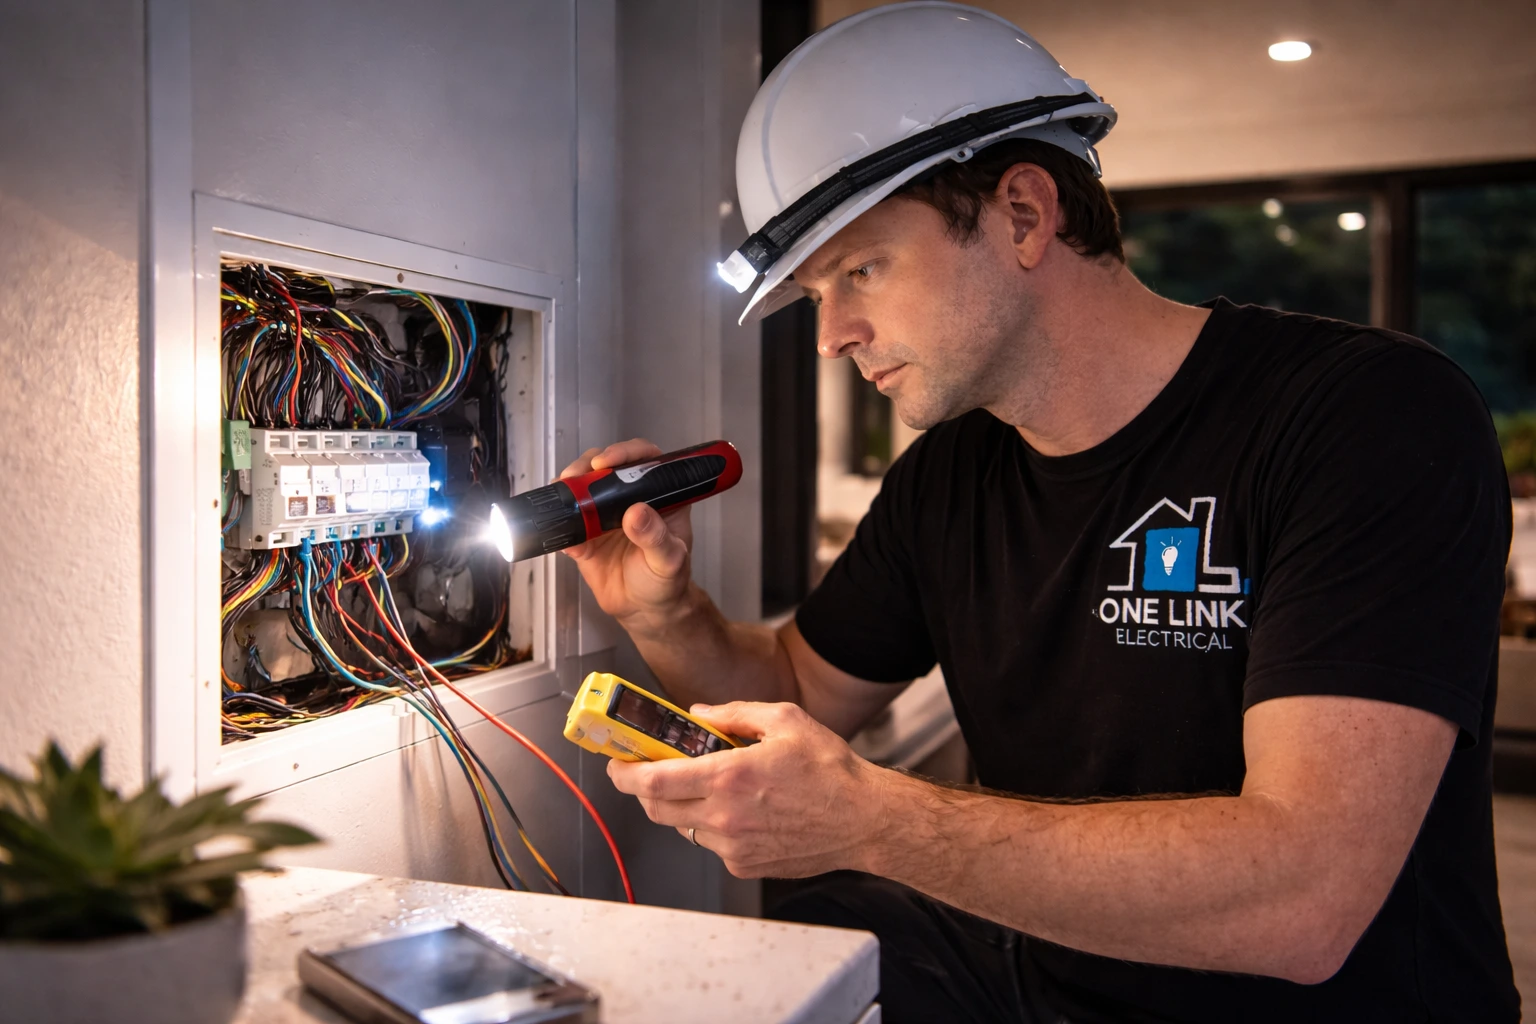
- Voltage Tester: A non-contact voltage pen or a multimeter is non-negotiable for confirming a circuit is completely de-energised.
- Insulated Screwdrivers: A set of Phillips and flat-head screwdrivers with insulated handles protects against accidental shock.
- Wire Strippers and Pliers: Essential for cleanly cutting, stripping, and connecting wires.
- Safety Gear: This includes a stable ladder, safety glasses to protect from debris, and insulated gloves.
Crucial Pre-Work Safety Steps
For a professional, safety isn’t a suggestion—it’s a strict procedure. Following these fundamental electrical safety precautions is the only way to prevent serious injury or electrocution.
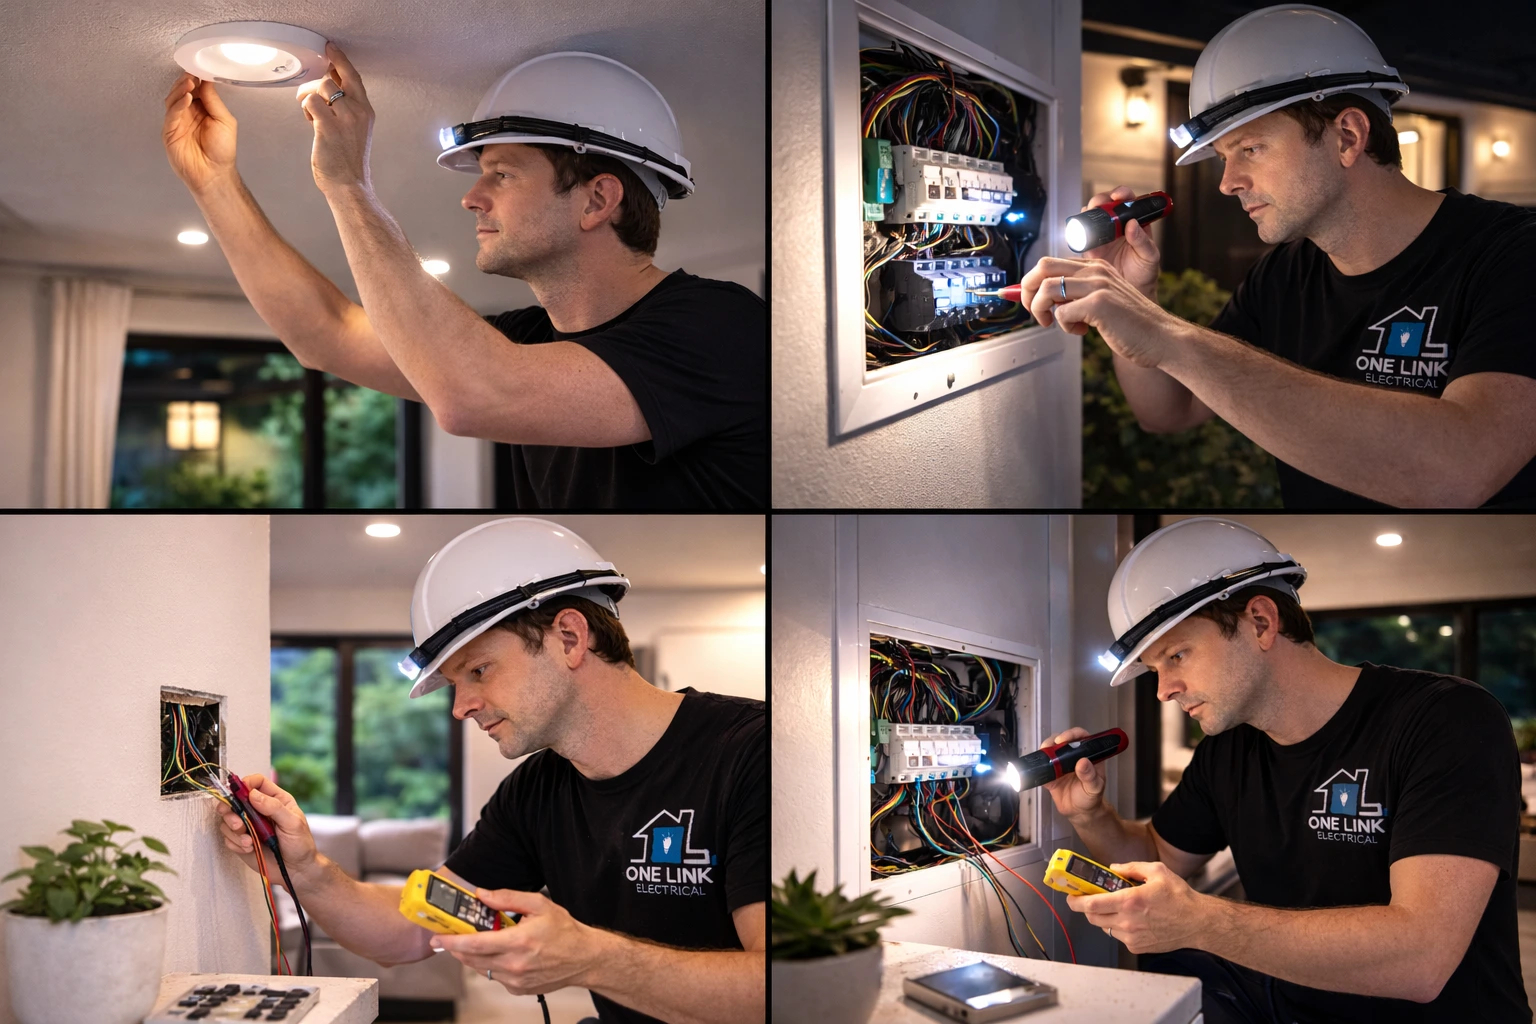
- Step 1: Shut Off All Power. The job begins at the main switchboard. The circuit breaker or fuse for the specific lighting circuit must be switched to the ‘OFF’ position.
- Step 2: Test, Don’t Guess. Use a voltage tester directly on the wires at the light fixture to confirm there is zero electrical current. Never assume the power is off just because the switch is flipped.
- Step 3: Lockout and Tagout. A professional will place a warning sign or lock on the switchboard. This prevents someone else from accidentally restoring power while work is in progress. If you are ever unsure, stop immediately.
Understanding Australian Wire Colours
Correctly identifying wires is critical to understanding how to connect sensor to light circuits safely. Australian standards use a specific colour code that every electrician knows by heart.
- Live (Active): Brown. This wire carries the electrical current and is extremely dangerous.
- Neutral: Blue. This wire completes the electrical circuit.
- Earth: Green and Yellow. This is the safety wire, designed to protect you from electric shock in case of a fault.
The Wiring Process: A Step-by-Step Breakdown
Once you have the right tools and have shut off the power, you can begin the installation. This guide covers a common wiring scenario, but remember that fixtures and home wiring can vary significantly. Understanding how to connect sensor to light correctly is critical for safe, reliable operation. If you encounter anything different from what’s described here, it’s a clear sign to stop and call a licensed professional.
Step 1: Removing the Existing Light Fixture
With the power confirmed off at the switchboard, you can safely begin. Carefully unscrew the mounting screws holding your old light fixture in place. Gently pull it away from the wall or ceiling to expose the electrical junction box and the wiring inside. Before disconnecting anything, take a clear photo with your phone. This simple step provides an essential reference if you get confused later.
- Unscrew the wire connectors to disconnect the Live (usually Brown or Red), Neutral (Blue or Black), and Earth (Green/Yellow) wires.
- Set the old fixture aside.
Step 2: Connecting the Sensor Light Wires
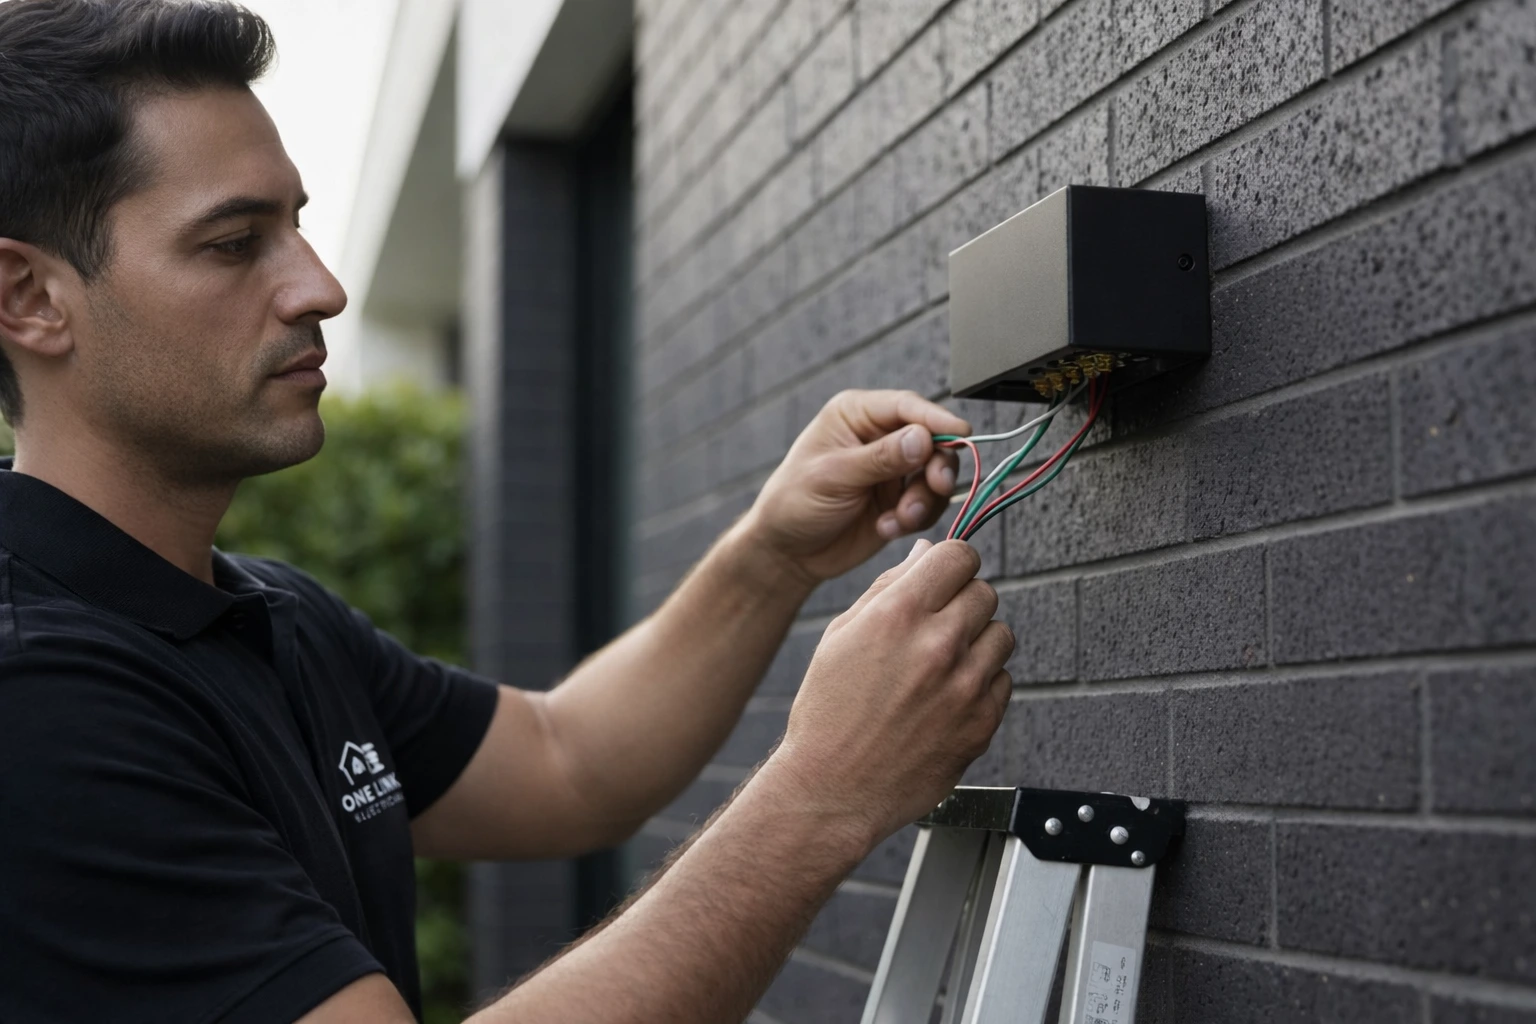
Your new sensor light will typically have three connection points or wires: a permanent Live (L), a Neutral (N), and a Switched Live or “Load” (L’). This Load wire is what sends power to the light bulb itself when the sensor detects motion. Always refer to the manufacturer’s diagram first, but a standard connection looks like this:
- Incoming Live (Brown): Connect the permanent Live wire from your house to the sensor’s Live (L) terminal.
- Incoming Neutral (Blue): Connect the Neutral wire from your house to the sensor’s Neutral (N) terminal. You will also connect the light fixture’s Neutral wire here.
- Switched Live / Load (L’): Connect the sensor’s Load wire to the light fixture’s Live wire.
- Earth (Green/Yellow): Connect the Earth wires from the house, sensor, and fixture all together.
Step 3: Mounting and Securing the New Fixture
With the wiring complete, carefully tuck all connections back into the junction box, ensuring no wires are pinched or exposed. Mount the new sensor light base securely to the wall or ceiling using the provided screws. For any outdoor installation, it is crucial to ensure the fixture is sealed correctly with its rubber gasket to prevent water from getting in and causing dangerous faults. A poor seal can lead to short circuits and permanent damage.
If the wiring seems complex or doesn’t match your expectations, don’t risk it. For guaranteed safety and peace of mind, trust a qualified electrician to get the job done right the first time. Our friendly, local team is available 24/7 to ensure your installation is safe and reliable.
Fine-Tuning and Testing Your New Sensor Light
You’ve successfully completed the wiring, but knowing how to connect sensor to light is only half the job. Now comes the critical step: calibration. Proper fine-tuning ensures your light works exactly when and how you need it to, providing security and convenience without frustration or wasted energy. An incorrectly configured sensor can be triggered by passing cars or stay on for too long, defeating its purpose.
Most motion sensors feature three simple adjustment dials. Getting these settings right is what separates a DIY job from a professional, reliable installation.
Setting the Detection Range (Sensitivity)
The ‘SENS’ dial controls how far the sensor can detect movement. Setting this too high can cause false triggers from street traffic or a neighbour’s pet. Setting it too low means it might not activate when you need it.
- Start on a medium setting.
- Test it by walking towards and across the detection zone at the furthest point you want it to activate.
- Adjust as needed. Gradually reduce the sensitivity until it only triggers from movement within your property.
Adjusting the Time Delay
The ‘TIME’ dial determines how long the light remains on after it stops detecting motion. Your ideal setting depends on the light’s purpose. A short delay saves power, while a longer one enhances security.
- For walkways and entryways: A shorter duration of 1-5 minutes is usually sufficient to see your way safely inside.
- For security purposes: A longer duration of 5-10 minutes can be more effective at deterring potential intruders.
Configuring the Light Level (LUX)
The ‘LUX’ setting tells the sensor at what level of ambient darkness it should start working. This is crucial for energy efficiency, ensuring the light doesn’t switch on during broad daylight. To set it correctly:
- Turn the ‘LUX’ dial to the ‘sun’ or daylight symbol for initial testing. This allows the sensor to work day or night.
- Wait until dusk, when you would typically want the light to start activating.
- Slowly turn the dial towards the ‘moon’ or darkness symbol until the light activates. This is now your perfect setting.
Taking the time to calibrate these settings provides peace of mind and a truly effective lighting solution. If you’ve followed the steps on how to connect sensor to light but are struggling with the fine-tuning, our team can help. For a fast, professional setup, contact our licensed electricians today.
Why DIY Electrical is Risky: When to Call a Licensed Sydney Electrician
While this guide outlines the basic principles, tackling a job like how to connect sensor to light fixtures yourself is not recommended. In Australia, any hands-on electrical wiring is heavily regulated for one simple reason: safety. A small mistake can lead to electric shock, property damage, or a devastating house fire. Before you pick up the tools, it’s crucial to understand the legal and safety risks involved.
Your family’s safety and the integrity of your home are too important to leave to chance. For all electrical work in Sydney, the only safe choice is to call a qualified professional.
Legal and Insurance Risks of DIY Electrical Work
In NSW, performing unlicensed electrical work is illegal and carries significant consequences. It’s not just about getting a shock; it’s about protecting your biggest asset—your home.
- Compliance Breaches: All electrical wiring must comply with the Australian Standard AS/NZS 3000. Unlicensed work almost never meets this strict safety standard.
- Voided Home Insurance: If a fire or other damage is traced back to illegal DIY wiring, your insurance provider has the right to deny your claim, leaving you with the entire bill.
- Heavy Fines: NSW Fair Trading can issue substantial on-the-spot fines for individuals caught performing or contracting for unlicensed electrical work.
The One Link Electrical Guarantee: Your Safe Solution
Why risk it when a safe, professional, and guaranteed solution is just a call away? At One Link Electrical, our friendly local team provides complete peace of mind. We are your trusted, 5-star rated experts for all residential electrical needs.
Our licensed electricians ensure every installation is 100% safe and compliant. We do the job right the first time, using high-quality materials to deliver a long-lasting and reliable solution. All our work is fully insured and backed by our service guarantee, so you know you’re in safe hands.
Don’t turn a simple lighting upgrade into a costly disaster. Protect your home and your family. Book a licensed electrician with a $0 call-out fee!
Get Your Sensor Light Working Perfectly – The Safe Way
You now have a solid understanding of how to connect sensor to light, from choosing the right components to the crucial safety steps involved. Remember, the most important part of any electrical work is ensuring the power is completely disconnected before you begin. While this guide provides a clear roadmap, complex wiring or older systems can introduce unexpected challenges and significant safety risks. Your home and family’s safety should always be the number one priority.
For a guaranteed safe and professional installation, don’t leave it to chance. The expert team at One Link Electrical is here to give you complete peace of mind. As Sydney’s 5-star rated electricians, we are fully licensed, insured, and ready to help 24/7 with a $0 call-out fee. We get the job done right the first time, ensuring your new sensor light is installed flawlessly and operates reliably for years to come.
For a fast, reliable, and guaranteed safe installation, put down the tools and call the professionals. Need a sensor light installed safely? Call our Sydney experts 24/7! Enjoy the enhanced security and convenience of a perfectly installed light, worry-free.